
You're standing at a pharmacy counter, or sitting in a new specialist's office, and someone asks which medication you take and who prescribed it. The answer lives in a file somewhere. Maybe it's in a portal you set up two years ago and haven't opened since, or in a folder at a clinic across town.
Getting your own health records shouldn't feel like a scavenger hunt. In the United States it's a legal right, and the fastest path usually takes about ten minutes on a laptop. The trick is knowing which route gives you what, and when one route alone won't build a complete picture.
What follows is a plain-language walk through the whole process, from what you're entitled to, to the exact request you can send this week. There's also a stop for the part most guides skip: how to let a family member help without handing over your password.
Table of Contents
- What Your Right to Your Records Covers
- Pick the Fastest Route for Your Records
- What Copies Can Cost and How Long They Take
- How to Request Your Records Step by Step
- Give a Caregiver Access Without Sharing Your Login
- Common Problems and Quick Fixes
- Send Your First Request This Week
What Your Right to Your Records Covers
Source: HHS guidance on individuals' access to protected health information, which explains the access provisions of the HIPAA Privacy Rule.
Start with the part that surprises people. The file is already yours. The Health Insurance Portability and Accountability Act, enacted in 1996, established a broad legal right for individuals to inspect and obtain copies of their protected health information. That right generally covers what a provider or health plan keeps in its designated record sets, including electronic and paper records, medical histories, billing information, test results, and the notes used to make decisions about your care.
No single organization holds your whole history. Your doctor's office, the hospital, your health plan, and your pharmacy each keep their own file, and each answers its own request. That's why a request sent to the wrong place comes back empty, and why the first useful step is a list rather than a form.
The 30-day clock, in plain terms. Covered organizations must act on an access request within 30 calendar days. If they can't finish in that window, they may take one additional 30-day extension, but only if they send written notice explaining the delay and stating an expected completion date. Treat those 30 days as an outside limit rather than a target, since federal guidance encourages providers to use electronic systems to deliver records faster, whether through patient portals or another agreed format.
You can also ask that records go to someone else, such as a family caregiver or another clinician, subject to identity and authorization requirements. For a plain-language look at what those obligations mean for the organizations holding your file, this explanation of what HIPAA compliance involves walks through the practical side.
- Write out every provider you've seen in the last few years, including specialists, urgent care, and any lab that drew blood.
- Note which ones have a portal, because that's usually the quickest way in.
- Find your photo ID before you start, since an identity check is where most requests stall.
Pick the Fastest Route for Your Records
Digital access is now the front door. According to ONC's national data brief on individuals' access to and use of patient portals, 73% of individuals reported in 2022 that a health care provider or insurer had offered them online access to their medical records, a 24% increase from 2020. That same year, 57% accessed their online medical record or portal at least once, a 50% increase from 2020, and 51% used an app, alone or with a website, up 13 percentage points from 2020.
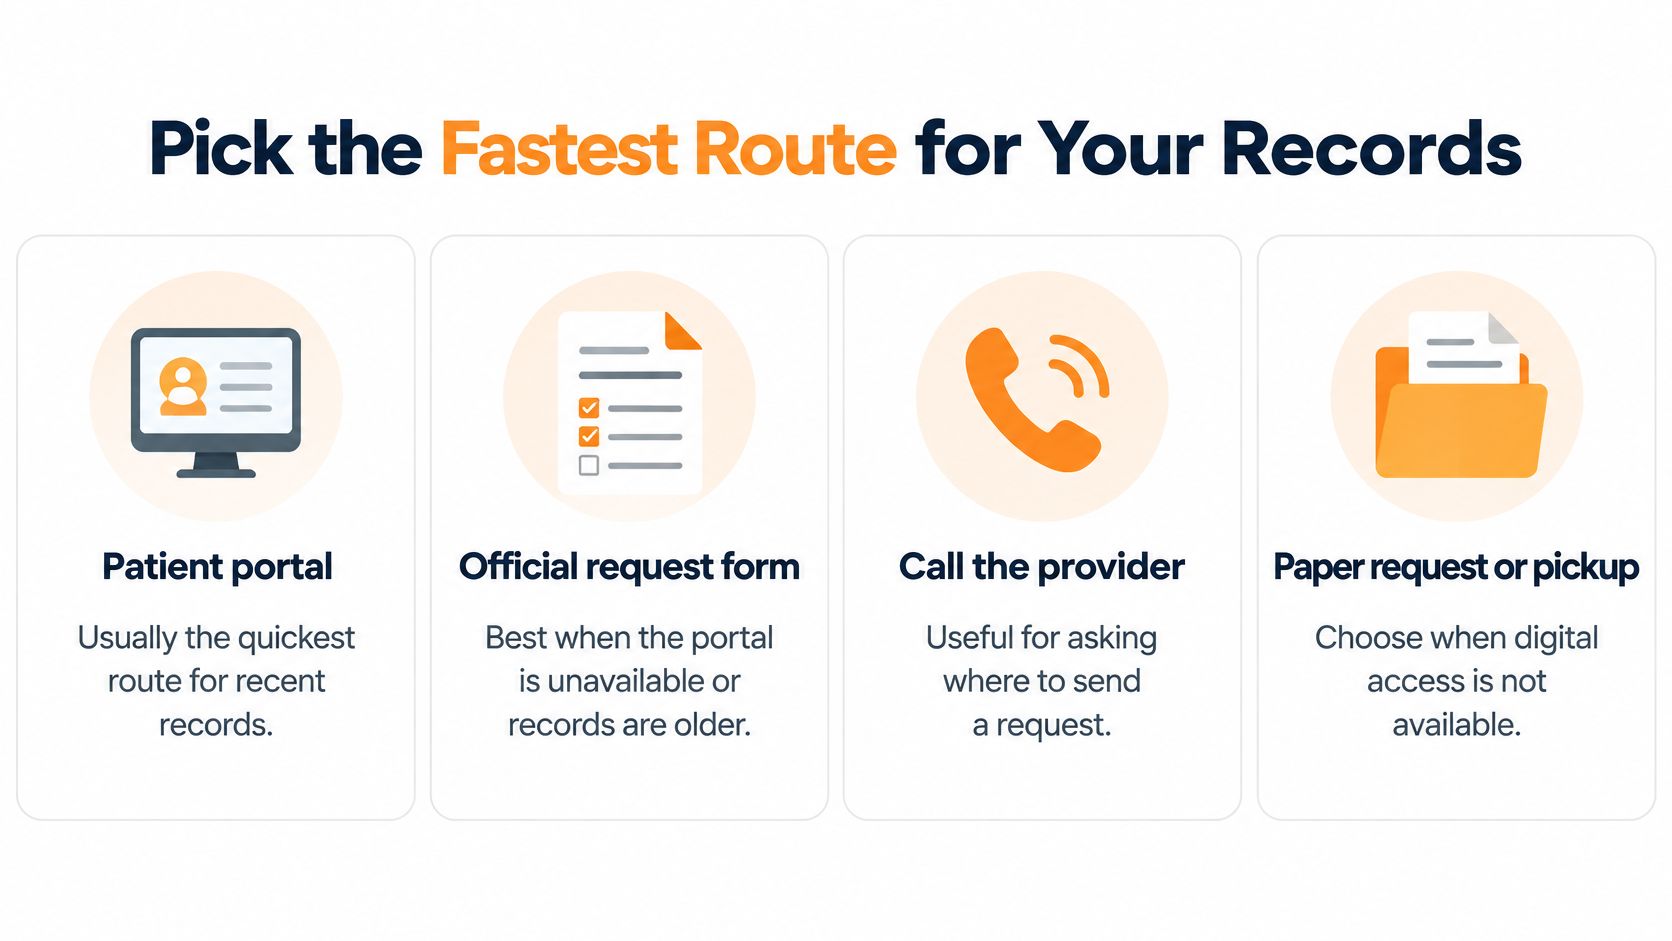
Five routes exist, and they don't hand you the same file. Each works like a different door into the same building: some open fast but show you a single room, while others take longer and let you walk the whole floor. Choose based on whether you need a quick look at something recent or a full copy for a move, a new specialist, or a second opinion.
Start with the portal in front of you
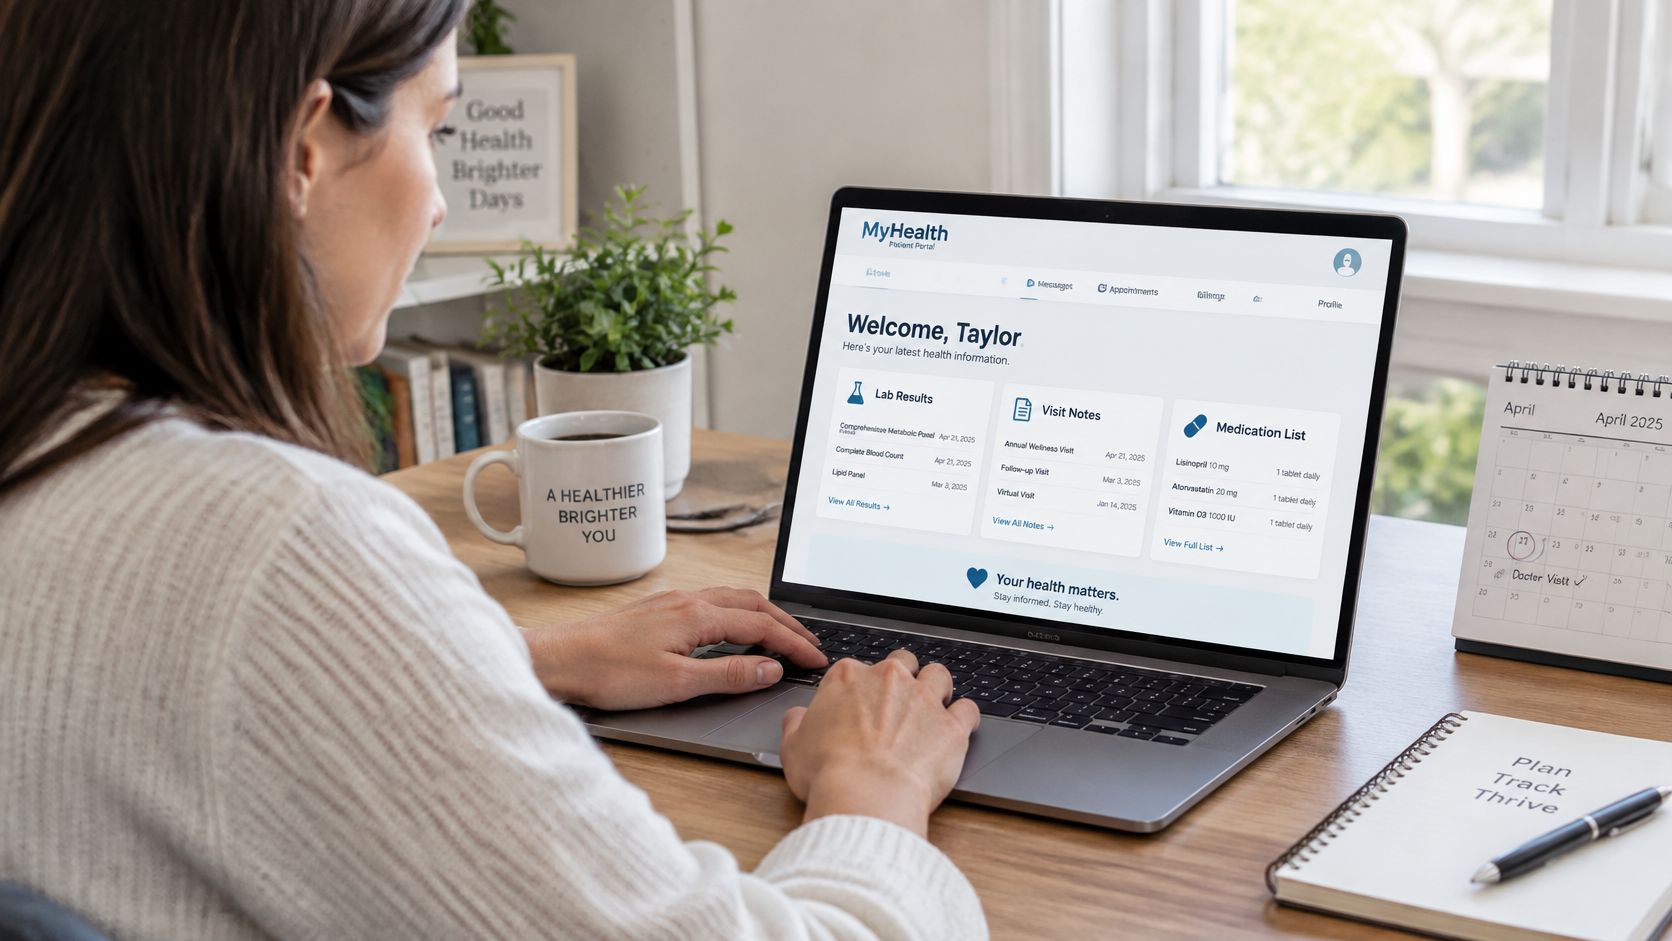
Portals such as MyChart are the default first stop because the data is already sitting there. Nearly every U.S. hospital now has the capability for patients to view information from their health or medical records, and 96% enable patients to download it, according to ONC's hospital patient-engagement figures. Getting in takes three steps.
- Ask the office whether it offers an online portal and how to get an activation code. Codes usually arrive by email, text, or on a printed after-visit summary.
- Create your login and finish the identity check. Answer the questions carefully, because mismatched details are the most common reason a sign-up fails.
- Look at what appears, then download the pieces you need as PDFs you control.
Connect an app for the bigger picture
An app that pulls through a standards-based HL7 FHIR API works more like a pipeline than a photocopy: medications, allergies, encounters, and lab results arrive as structured data the app can organize, rather than as screenshots or files you sort yourself. In ONC's brief on hospital use of APIs to enable data sharing, about 4 in 5 U.S. non-federal acute-care hospitals reported using an API for patient access in 2022, 69% reported standards-based API use, and roughly 2 in 3 reported FHIR-based patient access, a 12-percentage-point increase year over year.
Connecting an app is an authorization decision you control, so treat each connection like a key you have lent out and keep track of who holds one.
- Verify the provider's identity before connecting anything.
- Read the data scopes the app requests, and decline anything broader than you need.
- Sign in through the health system's authorization page, not a screen inside the app, then approve.
- Confirm what arrived, such as medications, allergies, encounters, lab results, and clinical documents.
- Revoke connections you no longer use. Access keeps working until you withdraw it, which matters most on shared devices.
Health plans run a parallel channel. Under the CMS interoperability and patient access rule, participating plans must make members' claims and encounter data available through a Patient Access API, a software connection an authorized app uses to retrieve information in a structured format under set identity, authorization, privacy, and security controls.
Why connected doesn't mean complete. An app can receive tidy structured data while omitting scanned documents, older history, or anything held by a provider outside its network. For a big transition, plan on a formal copy too.
Records routes compared
| Route | Best For | What You Need | Typical Turnaround |
|---|---|---|---|
| Patient portal (such as MyChart) | Recent visits, lab results, medication lists | Portal login and identity verification | Usually immediate for data already in the portal |
| Health app through FHIR API | Structured data from connected hospitals | App approval and review of requested data | Quick once connected; coverage varies by organization |
| Direct records request form | Complete file, older notes, billing records | Signed request and photo ID | Up to 30 days, plus one 30-day extension with notice |
| State health information exchange | Records shared among participating providers | Registration with the exchange | Immediate once enrolled; sign-up steps differ by exchange |
| Paper or in-person request | Older files and offices without portals | Written request and photo ID | Same 30-day outer limit as a request form, plus mailing or pickup time |
Practical rule: if you need a complete file, combine two routes. Pull what the portal has today, then send a formal request for everything else. The portal gives you speed; the request form gives you depth.
For a closer look at how these systems store and exchange your information, this primer on how electronic health records work explains the mechanics in plain language.
What Copies Can Cost and How Long They Take
Source: HHS's answers on whether a covered entity may charge individuals a fee.
Fees are limited to reasonable, cost-based copying expenses. Here's the split people most often get wrong.
What a records copy can and cannot cost
| Cost Item | Can They Charge? | Notes |
|---|---|---|
| Labor to create the copy | Yes | Reasonable, cost-based amount |
| Paper and copying supplies | Yes | Materials used to make the copy |
| Portable media such as USB or disc | Yes, if you request it | Only when you ask for that format |
| Postage for a mailed copy | Yes, if you request mail | Actual mailing cost |
| Searching for or retrieving records | No | Not a chargeable step |
| Reviewing your request | No | Part of the provider's job |
| Per-page charge for electronic records | No | Electronic storage is not a reason to charge per page |
Two charges cause most of the confusion. The first is a search-and-handling fee. A provider cannot bill you for hunting down the records, reviewing your request, maintaining its data systems, or general compliance work. Producing the copy is chargeable; finding and thinking about it is not.
The second is a per-page charge on electronic records. A provider may not apply a per-page rate because the information is stored electronically. And viewing your records in a portal is generally treated differently from asking for a copy to be sent, so the fee question often doesn't arise at all when you download.
Ask for an itemized estimate in writing before you pay anything. A labor-and-supplies breakdown is easy to check against the rules, and a written request creates a record if the number looks off.
Timing works in your favor here too. A fee question doesn't pause the response clock, so note the date you asked for the breakdown and follow up if the estimate arrives late. If the total seems high, reply with a request for the specific line items rather than paying first and disputing later.
How to Request Your Records Step by Step
Source: HHS's page on your medical records and your right to access them.
In the United States, the HIPAA Privacy Rule generally gives individuals the right to inspect, review, and receive copies of medical and billing records held by covered health plans and health care providers. That right belongs to you or an authorized personal representative, and it doesn't depend on whether a bill has been paid. These are access mechanics, not an interpretation of what any record means, so the sequence below is about getting the file into your hands.
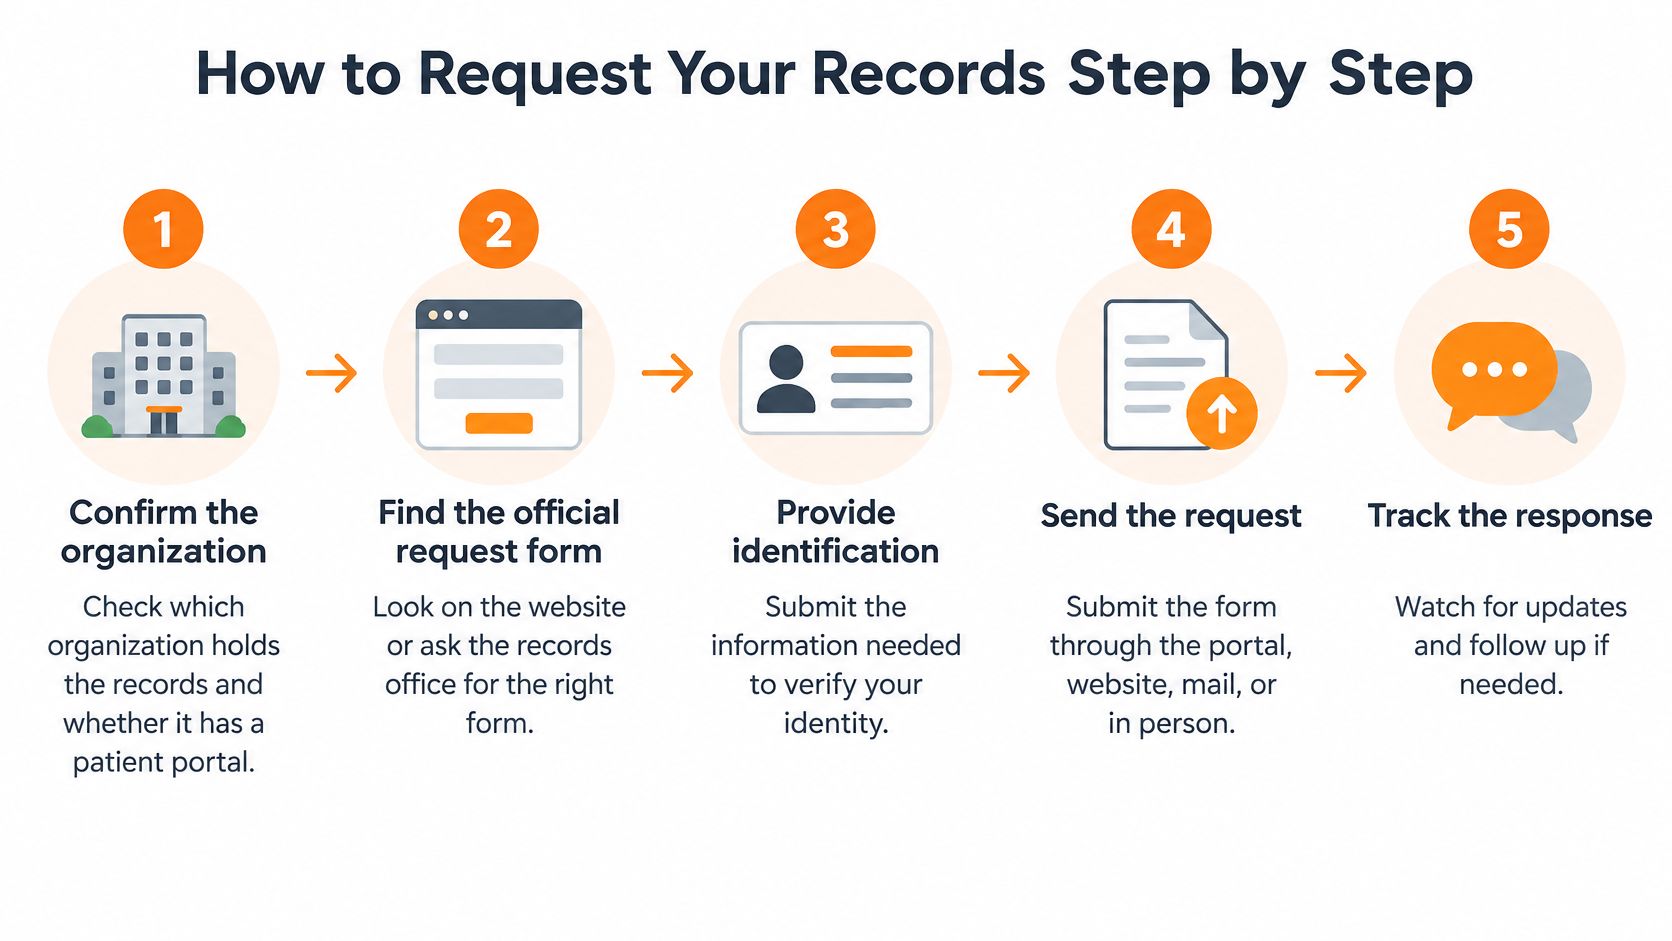
1. Confirm which organization holds the records. Check whether it has a patient portal first, because a portal can make steps three through six unnecessary. Calling the main number and asking for medical records gets you the right department faster than guessing.
2. Get the official request form. Look on the organization's website under "medical records" or "release of information," or ask the records department to email it. Using their form prevents the most common bounce-back.
3. Fill in names, dates, and record types. Include the patient's full name, date of birth, the date range, and the specific record types you need, such as lab results, imaging reports, or visit notes. A narrow date range keeps you from receiving a 300-page bundle with two useful pages in it.
4. Choose the format you want. Electronic copy, paper, or a file sent directly to a named third party such as a new doctor. Naming the recipient in the original request saves a second round of paperwork.
5. Verify your identity. Attach a photo ID, and add a signed authorization form if someone is asking on the patient's behalf. A mismatched name or missing signature is the single most frequent cause of delay.
6. Submit and keep a copy. Send it through the portal, by secure email, by fax, or by mail, then save the completed form with the date you sent it. Sending a request costs nothing; only permitted, cost-based copying charges can follow.
7. Track it. Put the deadline in your calendar and follow up around day 20 if nothing has arrived. Early follow-up catches a request that never reached the right desk.
A finished request leaves you with three things: a confirmation number, an expected delivery date, and a copy you can open and save yourself.
Give a Caregiver Access Without Sharing Your Login
Source: research on caregiver access to patient portals published in a peer-reviewed journal on health care access.
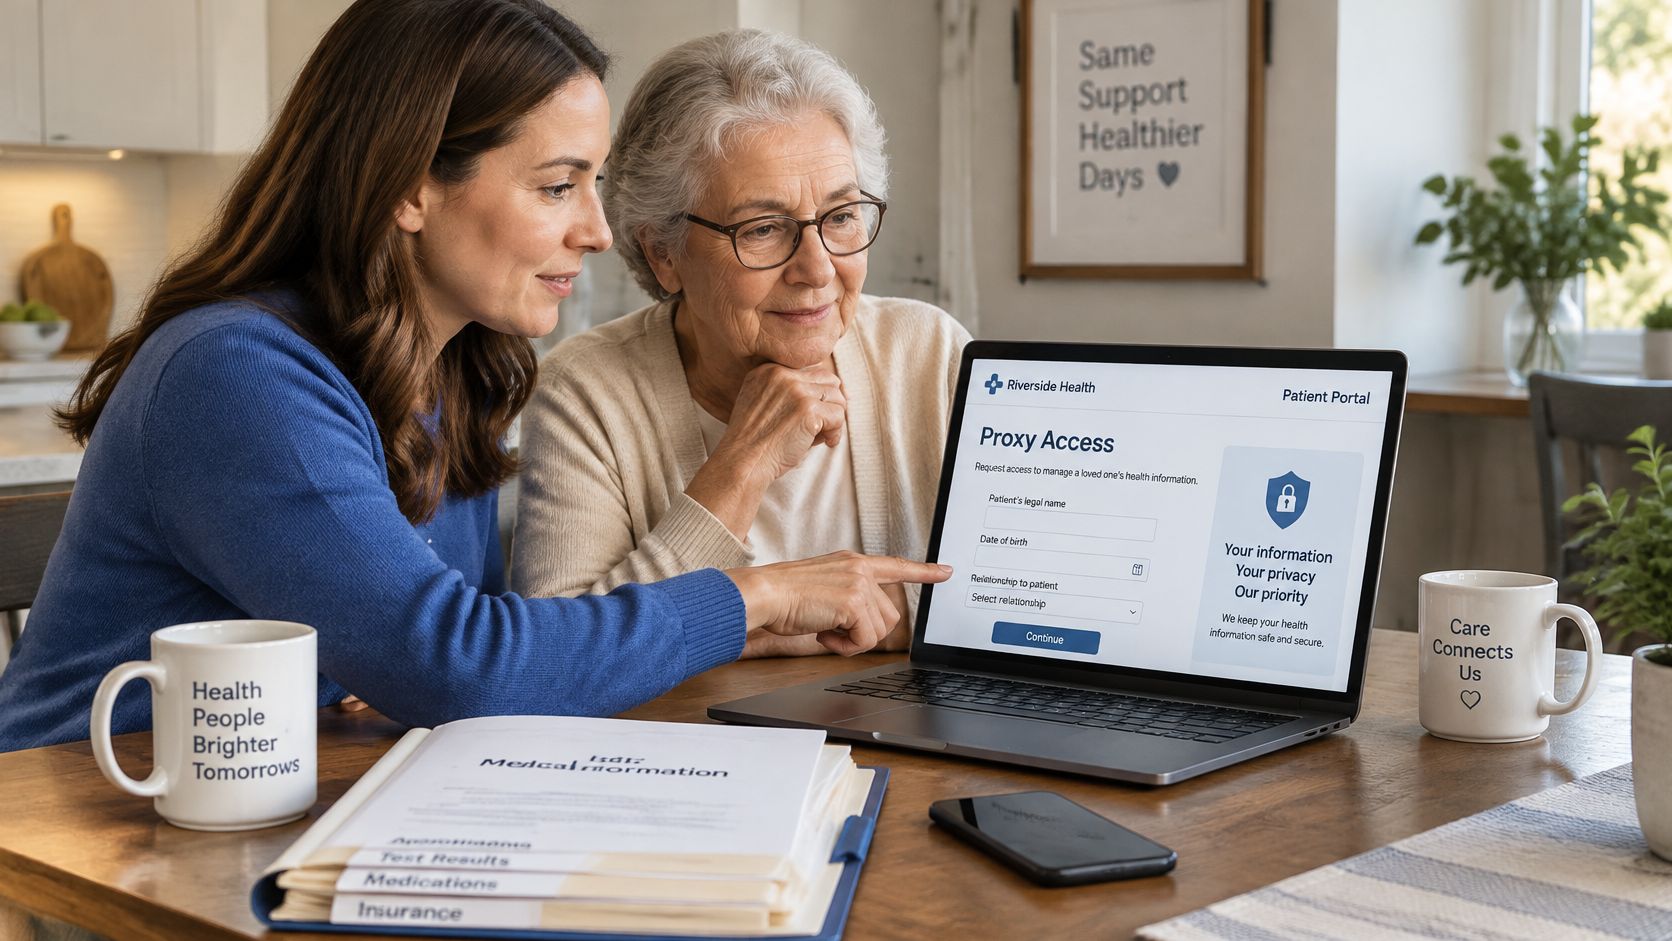
Caregiver access is useful, and it's already common. In 2024, 65% of U.S. adults reported accessing an online medical record or portal, while 51% reported proxy or caregiver access. The gap matters, because many caregivers still use the patient's login instead of a formal proxy function. That blurs who did what, exposes more information than intended, and makes access hard to pull back when a care arrangement changes.
Formal proxy access fixes all three. Look for a setting labeled "proxy," "caregiver access," "share access," or "family access," then work through it in order.
- Sign in as the patient, not as the caregiver. The patient account controls the permissions.
- Open the proxy or share-access settings and start a new invitation.
- Enter the caregiver's details and complete whatever verification the system requires, which may include their own account.
- Choose which records and functions to allow, such as messages, lab results, upcoming appointments, or medication lists. Start narrower than you think you need.
- Set an end date if the system offers one, so a temporary arrangement does not become permanent without notice.
Privacy check before you approve anything: confirm the caregiver has their own separate login, and write down the date you granted each permission. That single note makes your next review much faster.
Ask two questions before granting access. What happens if the patient loses capacity, and how does revocation work? Then remember that permissions differ across health systems, so a proxy set up at one hospital won't automatically carry to a separate clinic.
More access isn't automatically better. Access that is consent-based, visible, revocable, and understandable to the patient is what protects independence. If you're choosing tools for the caregiver side, this roundup of apps that help caregivers stay organized is a useful starting point.
Six-month habit: review active proxies twice, in spring and fall, and remove anyone who no longer helps.
Common Problems and Quick Fixes
Almost every snag comes down to access settings or paperwork, not missing records. Here's how the usual ones resolve.
Common problems, causes and quick fixes
| Problem | Likely Cause | Quick Fix |
|---|---|---|
| Portal shows no records | Records held by another provider or older than the portal | Send a formal copy request to the provider that holds them |
| Login locked or ID rejected | Identity check failed or details do not match | Use the verification option or call the records office to confirm your details |
| Records arrive incomplete | Date range or record types were too narrow | Send a follow-up listing the exact missing items |
| No word after 30 days | Request was not received or the deadline passed | Call to confirm receipt, then send a written follow-up |
| Caregiver cannot see a record | Proxy permissions do not cover that record type | Update the proxy settings for that record type |
| App shows fewer results than the portal | Connected hospital shares limited data | Request a formal copy for the missing items |
A blank portal is the one that rattles people most. It usually means your history lives with a different organization, or that the visit you're looking for was filed before the portal existed. Neither is a data loss. Both are solved by asking the right office for a copy.
Locked logins are the next most common. Verification questions drawn from public records can fail on a nickname, a maiden name, or an old address. Call the records office and ask them to confirm the details on file rather than starting a fresh account, which can split your history across two logins.
When something is missing from a copy that did arrive, resist the urge to file a brand new request. Send a short follow-up naming the exact items, dates, and record types, and reference your original request number. That keeps the original timeline intact and gives the records staff a precise task.
Keep a small log as you go: the date you sent each request, the date you followed up, and the name of anyone you spoke with. Staff change, and a log turns a frustrating phone call into a two-minute one.
Some fixes take a day, like widening a proxy setting. Others need the full response window, like a formal request for records from a decade ago. Knowing which is which stops you from chasing something that's already moving.
Send Your First Request This Week
Start with one provider you've seen recently, ideally the one who ordered your most recent labs. Open its portal and look for the lab results, visit notes, and medication list you'd want at your next appointment. If they're all there, download them and you're done in minutes.
If something is missing, gather three things before you write: your photo ID, your date of birth, and the date ranges you care about. Then send a request like this one.
Dear Records Department,
I am requesting a copy of my health records for [date range], including [record types such as lab results, visit notes, or imaging reports]. Please send them in [electronic or paper format] to [address or secure email]. I have attached a copy of my photo ID. Please confirm receipt and the expected completion date.
Thank you,
[full name, date of birth, and phone number]
After you hit send, note the date, set a reminder for day 20, and keep the confirmation number somewhere you'll find it again. When the copy lands, save it in a folder you control and tuck a short summary into your appointment notes so it's ready when you sit down with your clinician.
Keep the routine light. Skim your records every few months, jot down two or three questions for your next check-in, and repeat the twice-yearly proxy review so the right people still have access and nobody else does. That habit, more than any single request, is what keeps your information organized and your independence intact.
Rx360 brings Health Insights, Smart Technology, and Connected Care into one ecosystem, so the information that matters and the people who support you stay connected without adding complexity. If you're coordinating records, appointments, and medications across a household, it helps to have one calm place where those threads meet. Visit Rx360 to see how it supports independent living and effortless family connection.
Lower-Risk Medication Plan Checklist
Below is a practical checklist and step plan you can implement into your daily life:
-
List all medications
Include prescriptions, over-the-counter drugs, supplements, sleep aids, creams, patches, eye drops, and inhalers.
-
Mark fall-risk drugs
Flag medicines that cause dizziness, sleepiness, confusion, blurred vision, low blood pressure, or low blood sugar.
-
Ask for a medication review
Bring the list to a pharmacist or prescriber.
-
Review after any warning sign
Request a new medication check after a fall, near-fall, new prescription, dose change, dizziness, or confusion.